* Update _index.md

Added install steps, light formatting changes.

* Update website/site/content/guide/user/_index.md

* Update website/site/content/guide/user/_index.md

* Update _index.md

Removed "Enabling Focalboard" as it's been moved to a different section.
4.4 KiB
| title | date | section | weight |
|---|---|---|---|
| User's Guide | 2020-12-15T12:01:23-04:00 | guide | 2 |
This guide is an overview of the basic features to get you started. Focalboard is an open source project that is being updated continuously.
Let us know if there's a feature you are looking for, or connect with our vibrant community to help bring it to life.
Adding new Boards
- Select + Add Board in the bottom left of the sidebar to add a new board to Focalboard.
- Pick a template, such as Project Tasks, from the list.
- This shows the first view of the new board, which is a table of all tasks.
- Click on "By Status" in the sidebar to see a board view.
- Click on the properties menu, and turn on "Priority" and "Date created". This will add those properties to the card display.
- You can likewise change the Group By, Filter, and Sort settings of the view.
- In general, all changes you make are saved immediately and are visible to all other users.
Renaming Boards
Click on the board title to edit it. You can also set an icon on boards and cards.
Adding new Views
Click on the dropdown next to the view name, and click Add view to add a new view.
Dragging cards
Drag cards from one column to another to change their group-by property. For example, drag a card to the Completed column to mark it as completed.
When a board is unsorted, you can drag a card to a specific row in a column. For sorted boards, dragging a card to a column with auto-sort it using the specified sort settings.
Editing cards
Select a card to edit it. A card consists of:
- A set of properties: Properties are common to all cards in a board. Board views can group cards by "Select" type properties into different columns.
- A list of comments: Comments are useful for noting important changes or milestones.
- A set of content: The content of a card can consist of markdown text and images. Use this to record detailed specs or design decisions for an item for example.
Press ESC or click outside the card editor dialog to close the card editor.
Table Views
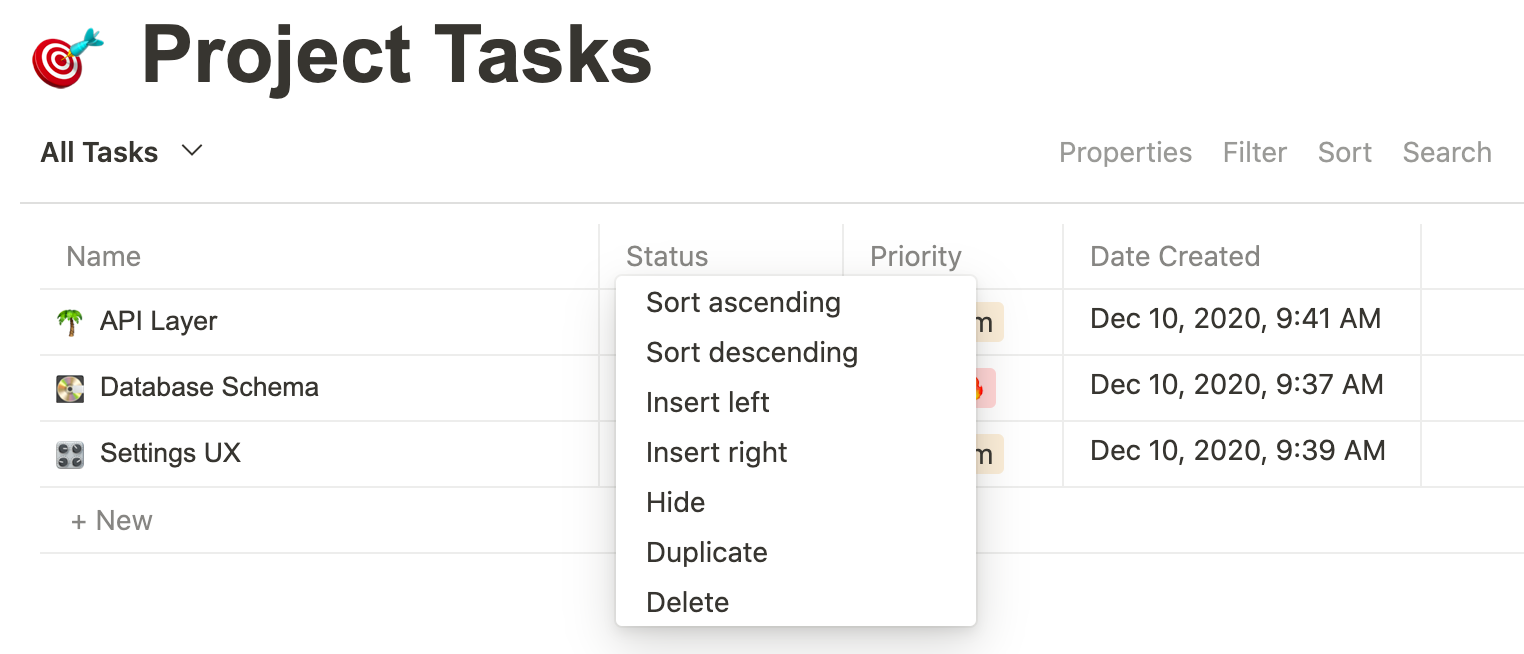
Each column corresponds to a card property. Cells can be edited directly, or you can open the card editor for a row by hovering over the title and clicking "open".
Click on headers to sort them, or insert new properties.
Card templates
Each board can have a set of card templates. To create a new card template, click on the dropdown by the "New" button and select "+ New template".
A card editor opens with a banner indicating this is a template.
You can new create new cards using this new template.
Alternatively, you can turn any card into a template:
- Open the card editor.
- Select the options menu (... at the top right), then select New template from card.
Board templates
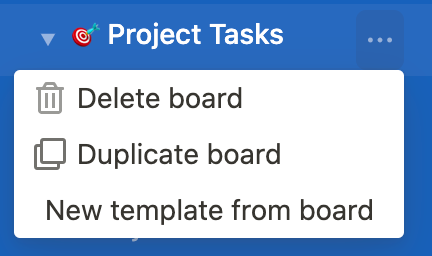
Similarly, you can create board templates from the "+ Add board" menu. To turn an existing board into a template:
- Hover over the board title in the sidebar.
- Select the options menu (...), then select New template from board.
Sharing boards
-
Hover over the right-hand side of the board menu.
-
Turn the switch on which says Publish to web and share this board with anyone.

-
Copy the given link.
-
You can now share the copied link with others. Anyone with the link will be able to view the board)
-
Select Regenerate Token if you want to invalidate all the previously shared links.
-
A message asking This will invalidate previously shared links. Continue? will pop up. Select OK and the token will be regenerated.
Archives
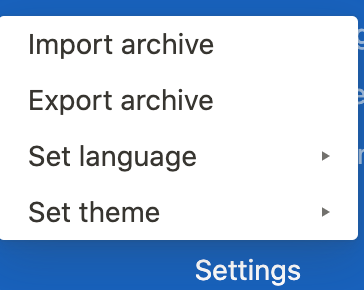
You can export an archive of all your boards from the settings menu.
This is handy to quickly back-up snapshots, or to transfer them to different installations, for example from a Personal Desktop to a server install. Note that the archive does not (currently) include image and file attachments, such as images included in a card.
Also note that importing an archive will overwrite changes to items, but will not affect additional items (e.g. boards and cards) that are not part of the archive.


